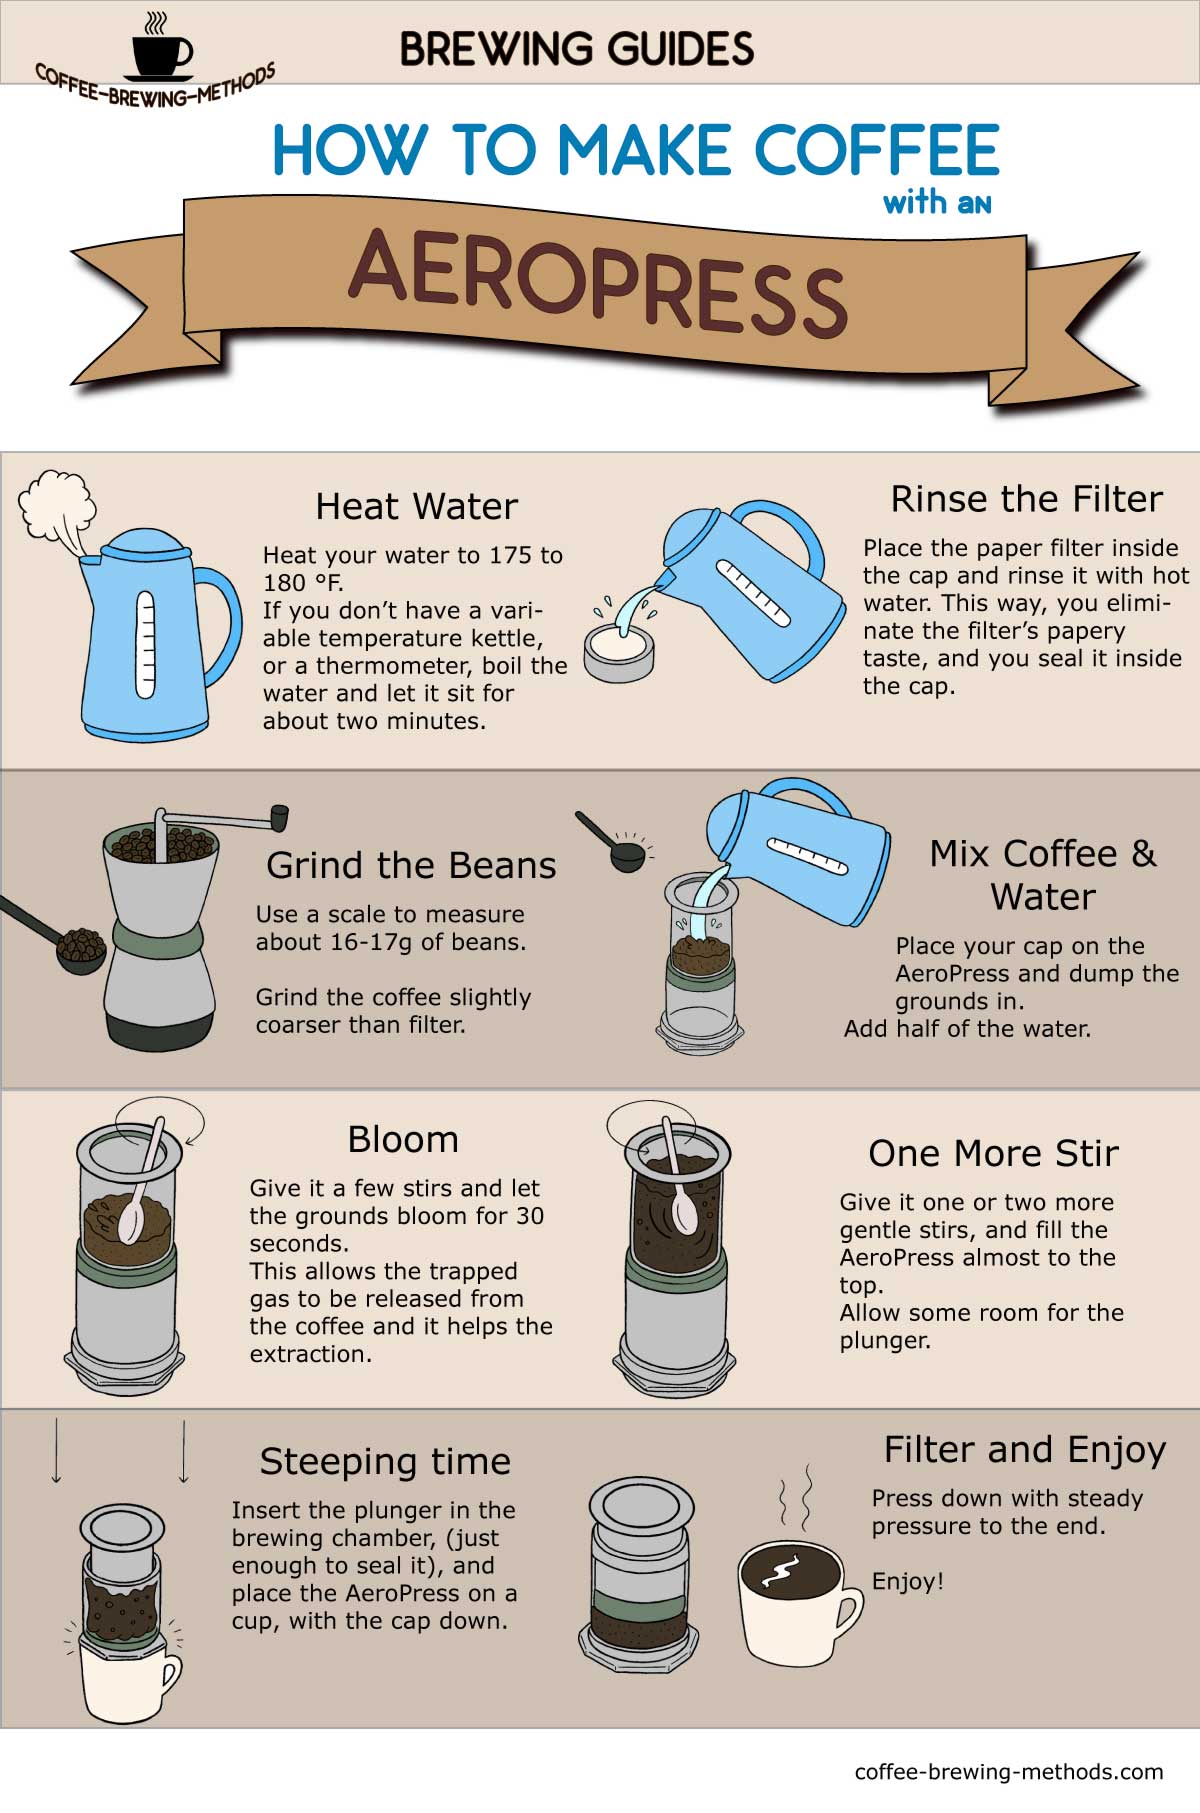
Here is a simple step-by-step guide on how to use an AeroPress. Coffee prepared this way is a bold, full-bodied cup. At the same time, the cup is very smooth, without the harsh notes and the bitterness associated with French Press. It is an inexpensive way to make an espresso alternative. Here is the recipe as an infographic, or lower on the page as a text.

- Heat waterHeat your water to 175 to 180 °F. If you don’t have a variable temperature kettle or a thermometer, boil the water and let it sit for about two minutes.
- Rinse the FilterPlace the paper filter inside the cap and rinse it with hot water. This way, you eliminate the filter’s papery taste, and you seal it inside the cap.
- Weigh and grind beansUse a scale to measure about 16-17g of beans. Grind the coffee slightly coarser than filter.
- Mix Coffee and WaterPlace your cap on the AeroPress and dump the grounds in. Add half of the water.
- BloomGive it a few stirs and let the grounds bloom for 30 seconds. This allows the trapped gas to be released from the coffee and it helps the extraction.
- One more StirGive it one or two more gentle stirs, and fill the AeroPress almost to the top. Allow some room for the plunger.
- Steeping timeInsert the plunger in the brewing chamber, (just enough to seal it), and place the AeroPress on a cup, with the cap down.
- Filter ItPress down with steady pressure to the end. Enjoy.
If you need a more thorough brewing guide, with geeky facts, tips and tricks, check our in-depth AeroPress tutorial.
How to Make Coffee with an AeroPress – Infographic Overview
This infographic is part of our guide on how to brew espresso at home. AeroPress coffee is not espresso, but it is a great alternative, for those on a low budget. The advanced AeroPress guide shows you some great tips on how to pull shots that can pass as espresso. If you just need the coffee for a latte, don’t worry too much about “semantics”, this is perfect for your needs.
Key Considerations
This infographic is part of our guide on how to brew espresso at home. AeroPress coffee is not espresso, but it is a great alternative, for those on a low budget. The advanced AeroPress guide shows you some great tips on how to pull shots that can pass as espresso. If you just need the coffee for a latte, don’t worry too much about “semantics”, this is perfect for your needs.