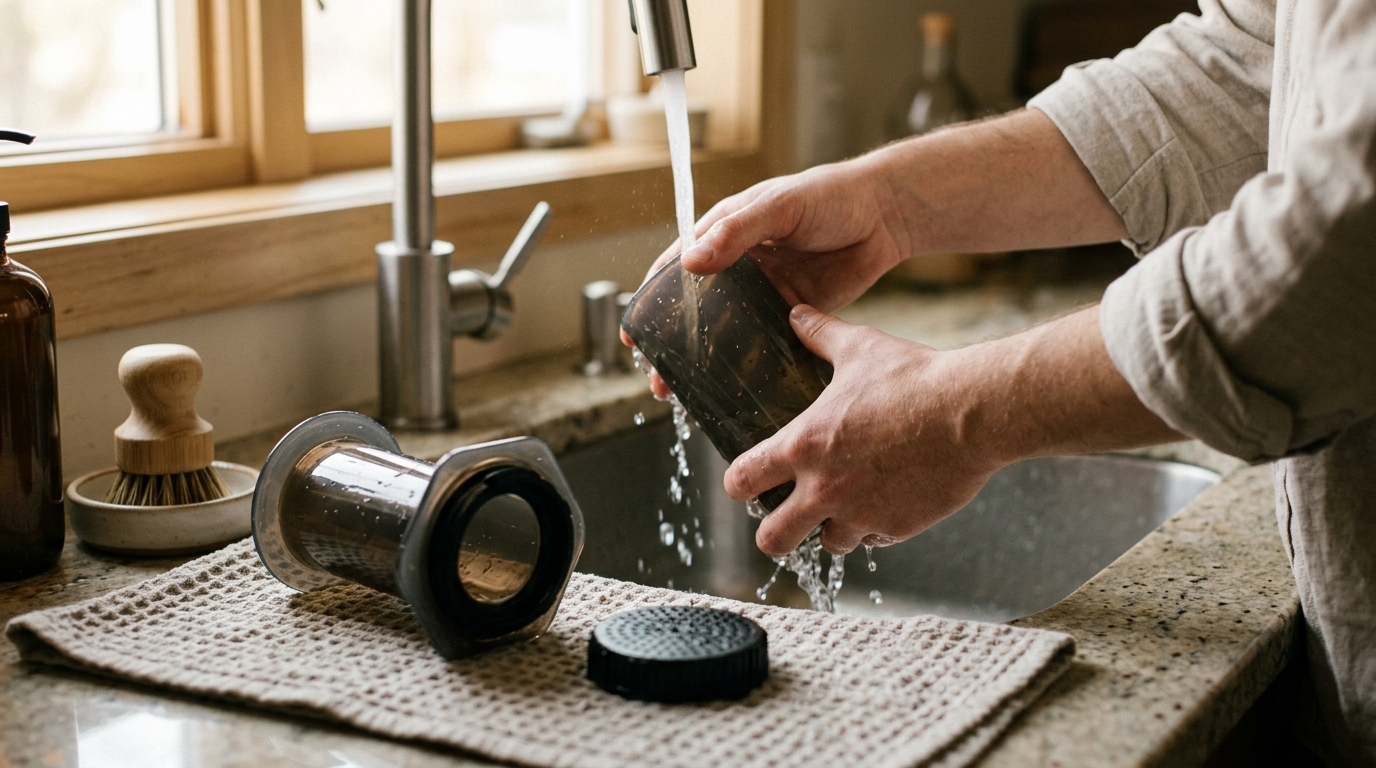
A clean AeroPress brews better coffee and lasts longer—but scrubbing every part isn’t necessary. Learn a quick, practical routine for cleaning AeroPress coffee makers, including AeroPress chamber cleaning and AeroPress seal washing. You’ll find out what you need, how to clean each component step by step, and how to avoid common mistakes that can wear down your brewer.
What You’ll Need
Gather a few gentle cleaning supplies before you start.
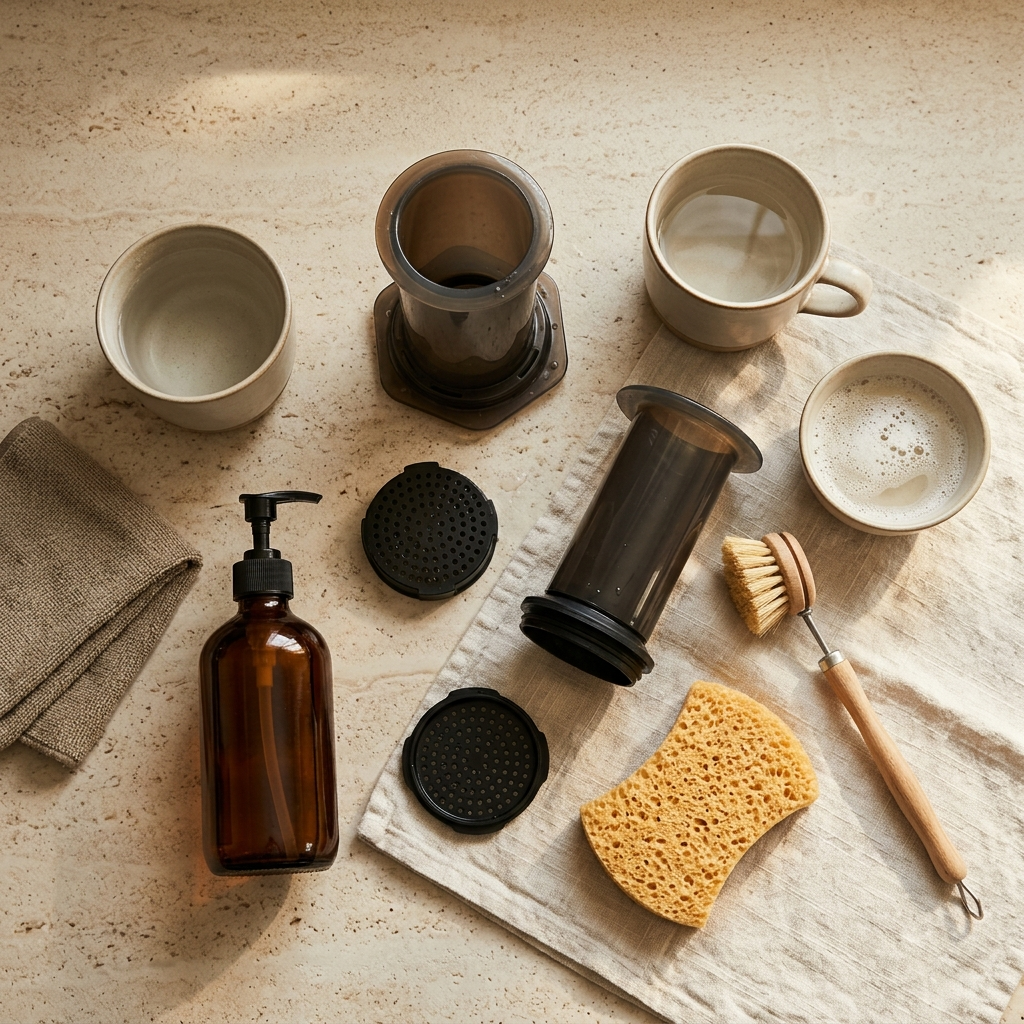
These are suitable for routine washing of the chamber, plunger, and seal without scratching the plastic.
- Warm water: About 1–2 cups (240–475 mL) is enough for rinsing and washing.
- Mild dish soap: Use 1–2 drops of a non-abrasive soap; fragrance-free soap is a good choice if you want to avoid lingering scents.
- Soft sponge or microfiber cloth: Choose a clean, non-scratch surface for wiping the chamber and other plastic parts.
- Small soft-bristled brush (optional): A clean, soft toothbrush can reach residue around the filter cap and other narrow areas.
- Clean towel or drying rack: Set aside a lint-free towel or rack so washed parts can air-dry fully.
- Small bowl or sink basin (optional): Useful if you prefer to wash the AeroPress parts separately from dishes.
No special cleaner is required for routine AeroPress chamber cleaning or seal washing. Avoid including abrasive scouring pads or powdered cleansers in your kit, since they can scratch plastic surfaces.
Step-by-Step Instructions
1. Hold the chamber over a compost bin or trash can and press the plunger all the way through.
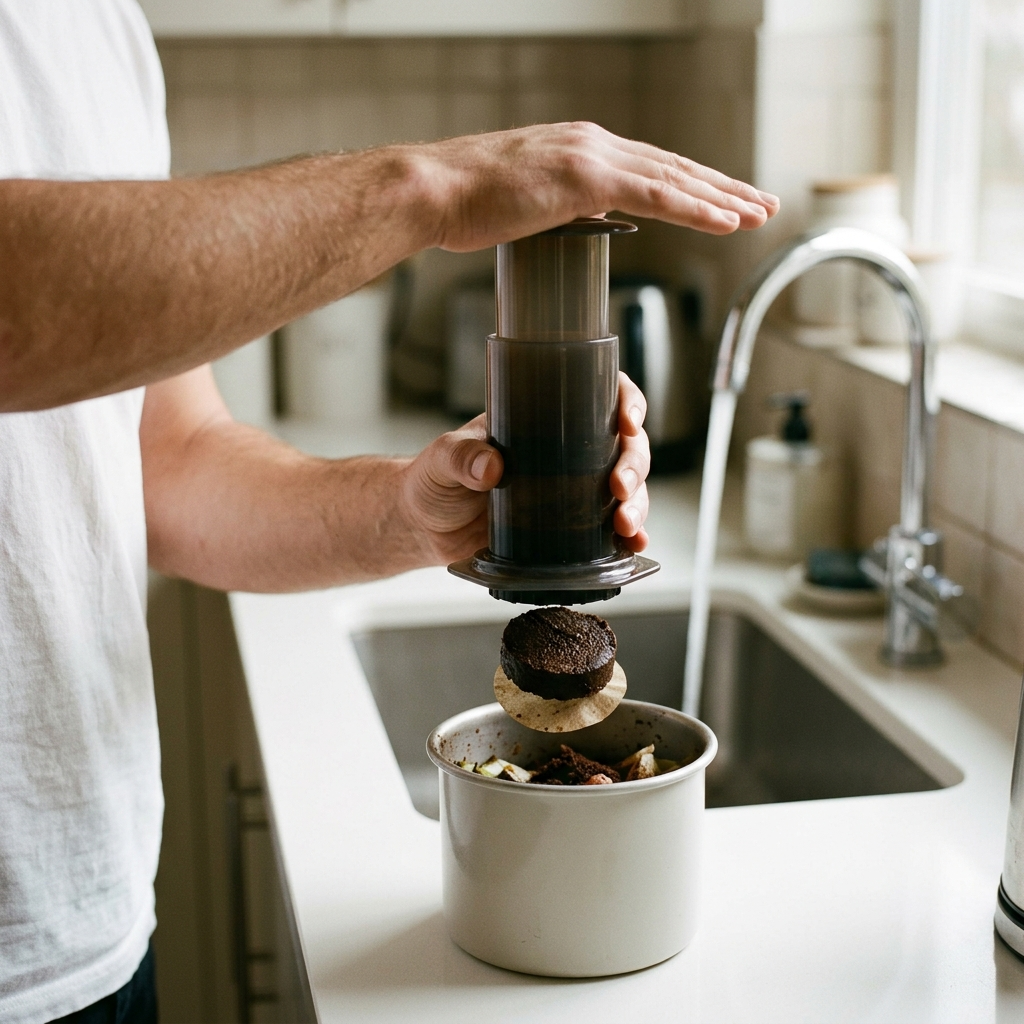
This pushes out the grounds and filter. Do this soon after brewing, while the puck is still moist; dried grounds are harder to remove.
If the puck sticks, release pressure and push again gently rather than striking the brewer against a hard surface.
2. Separate the chamber from the plunger.
3. Rinse both under warm running water.
Use water around 35–45°C (95–113°F). Rotate the chamber so water reaches its full inner wall, then rinse the plunger tip and rubber seal to remove coffee oils and fine particles.
A brief rinse is usually enough after a brew if you clean the parts promptly.
4. Unscrew the cap.
5. Rinse it on both sides.
Pay attention to the grooves that hold the paper or metal filter. If grounds or residue remain, rub the cap gently with your fingers under running water.
6. Set the filter aside for reuse only if it is a washable metal filter; discard used paper filters.
7. Add a small drop of mild, unscented dish soap to a soft sponge or cloth and clean the chamber, cap, and plunger.
For a deeper wash, use warm water, not boiling water, and avoid scouring pads or abrasive cleaners that can scratch plastic.
8. Rinse each part thoroughly.
Continue until it no longer feels slippery and no suds remain.
9. Inspect the rubber seal for trapped grounds or oily buildup.
Do this with the plunger removed from the chamber.
10. Wash around the seal with soapy water and a soft cloth.
Then rinse well. For a more thorough clean, gently roll the seal off the plunger, wash the seal and the groove beneath it, and rinse both.
11. Refit the seal by rolling it back into place evenly.
Check that it sits flat and is not twisted.
12. Look through the chamber toward a light source.
Check for grounds or a cloudy film.
13. Wipe the interior with a soft sponge or cloth.
Move from the open end toward the cap end, then rinse again.
If residue is lodged near the outlet, use your fingertips or a soft brush rather than a sharp utensil that could scratch the surface.
14. Shake excess water from the chamber and cap.
Then place the parts on a clean drying rack with openings exposed to air.
15. Let the plunger dry with the seal out of contact with a wet surface.
Once dry, store the plunger outside the chamber or with the seal just inside the opening, not pushed tightly to the bottom; leaving the seal compressed can reduce its life.
16. Reassemble the brewer when the parts are dry.
Check that the filter cap threads onto the chamber smoothly and that the seal remains even around the plunger. If you cleaned the seal separately, make sure it is fully seated before using the brewer again. A properly rinsed, dry chamber should have no visible grounds, soapy film, or lingering coffee residue.
Tips & Pro Techniques
Rinse the chamber while the coffee residue is still fresh; dried grounds and oils take more effort to remove. A quick rinse after brewing also helps keep buildup from transferring into later cups. Keep these small habits in mind to make routine care easier and protect the brewer’s parts:
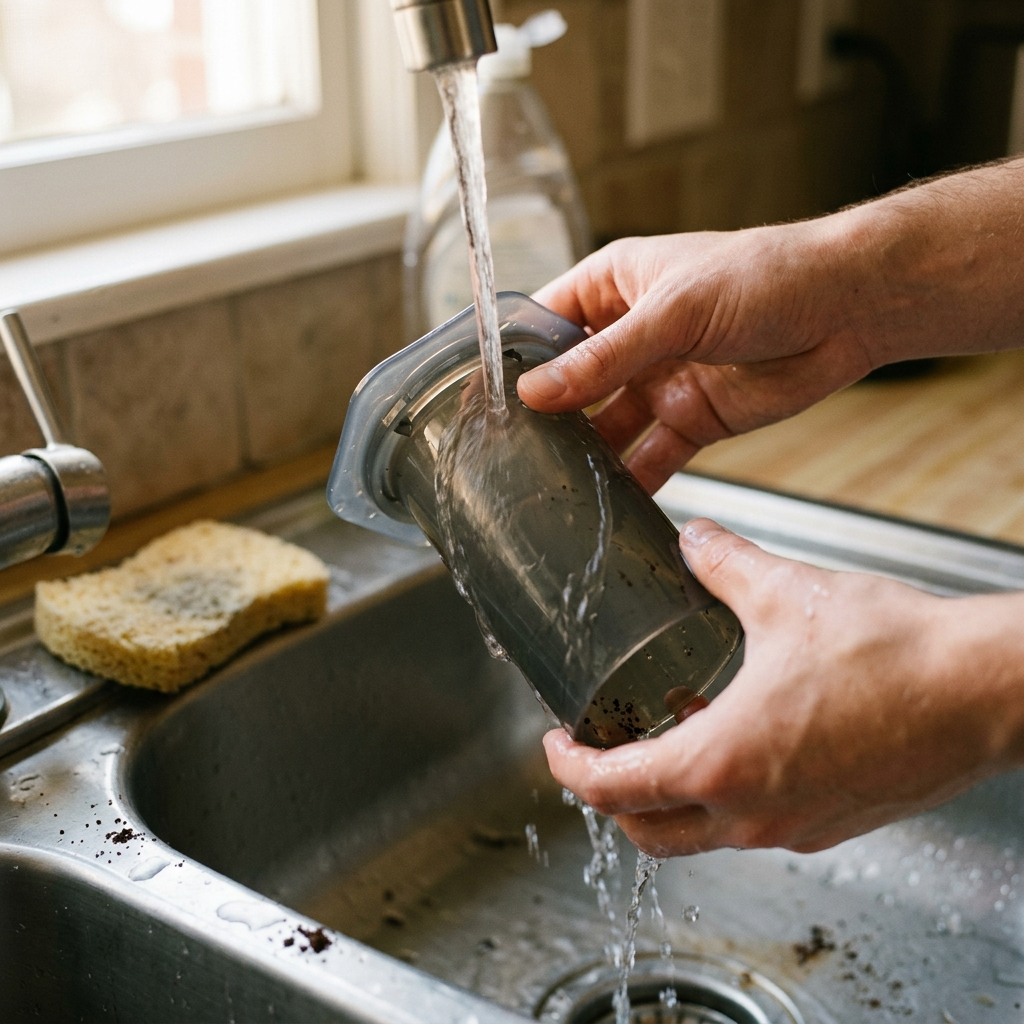
- Rinse the chamber promptly with warm water, then wipe its interior with a soft sponge if a slick film remains.
- Avoid abrasive pads, which can scratch the plastic and leave residue-catching marks.
- Wash the plunger seal with a little unscented dish soap and warm water when it feels oily.
- Work the soap around the seal’s full edge with your fingers, then rinse thoroughly so no detergent scent carries into your next brew.
- I recommend removing the plunger from the chamber between uses because leaving the seal compressed can shorten its useful life.
- Store the pieces separately once they are clean and dry.
- Use a soft bottle brush to reach the chamber’s narrow end if grounds cling near the opening.
- Choose one with nonabrasive bristles, and keep pressure light so you do not scuff the plastic.
- Let the chamber and plunger air-dry fully before putting them away.
- Set them on a clean drying rack with the openings exposed to airflow; trapped moisture can create stale odors.
- For a deeper clean, soak the cap and reusable metal filter in warm, soapy water for about 10 minutes, then rinse them well.
- Check the filter against a light source afterward; clear openings help water pass evenly during brewing.
- If you use a dishwasher, check the care guidance for your specific AeroPress model and place compatible parts on the top rack.
- Hand-washing is a practical choice when you want to preserve printed markings or avoid heat exposure.
Common Mistakes to Avoid
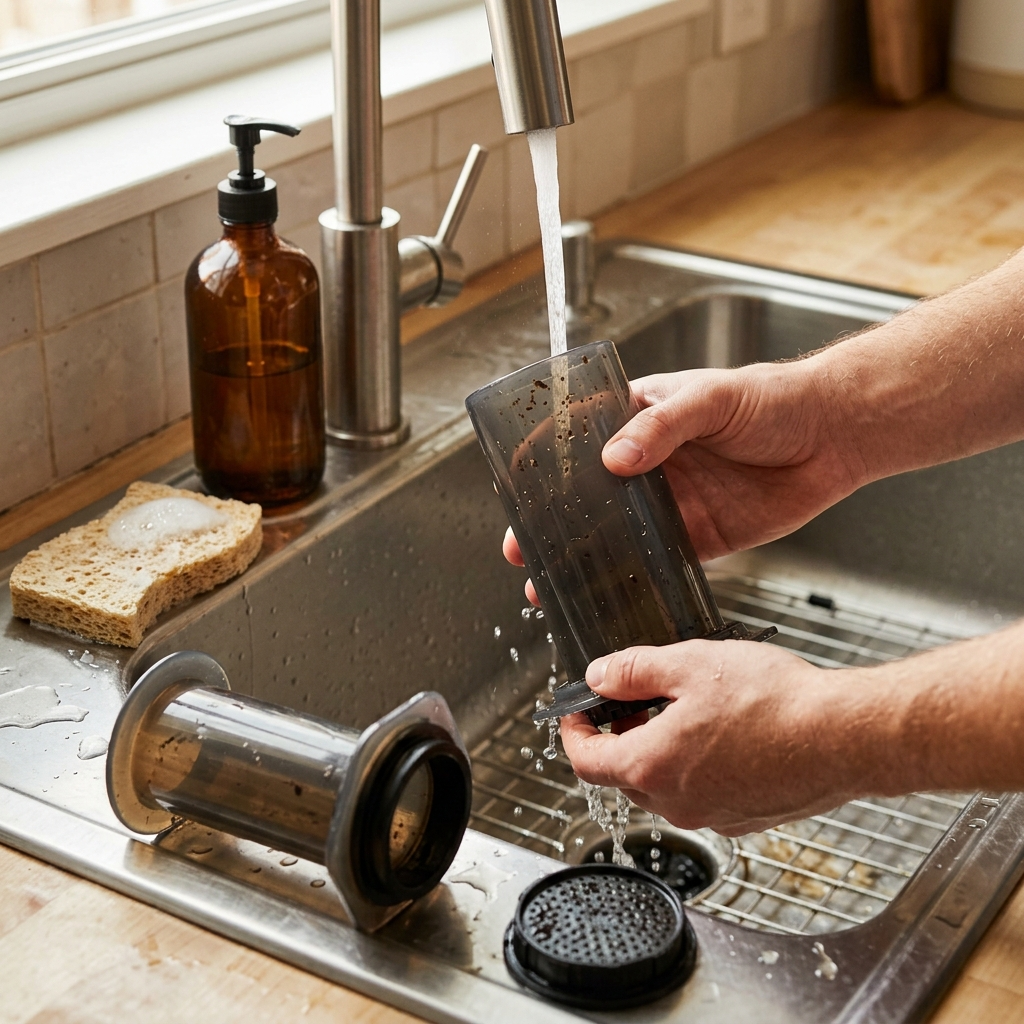
- Leaving the plunger compressed between uses. The rubber seal stays under pressure when the plunger is stored inside the chamber, which can make it lose its snug fit sooner. Pull the plunger out after brewing and store the chamber and plunger separately.
- Letting coffee residue dry in the chamber. Fine grounds and oils cling to the chamber walls as the coffee dries, making a quick rinse less effective and leaving stale odors. Rinse the chamber soon after brewing rather than waiting until the next use.
- Scrubbing with an abrasive pad. Scouring pads and gritty cleaners can scratch the plastic; those marks may hold onto coffee oils and become harder to clean. Use a soft sponge or cloth with mild dish soap instead.
- Ignoring the seal while washing the plunger. Coffee oils can collect around the seal’s edge even when the plunger looks clean. Wash the seal gently with warm, soapy water, then rinse it thoroughly; don’t stretch or pry it off during routine cleaning.
- Using harsh cleaners or very hot water. Bleach, strong solvents, and excessive heat can damage or discolor plastic parts and may affect the seal. Stick to mild dish soap and comfortably warm water, and follow the manufacturer’s care guidance for your specific model.
Troubleshooting
When a press still smells stale, feels gritty, or sticks after cleaning, check the specific part rather than scrubbing harder. These fixes address common problems with chamber cleaning and seal washing.
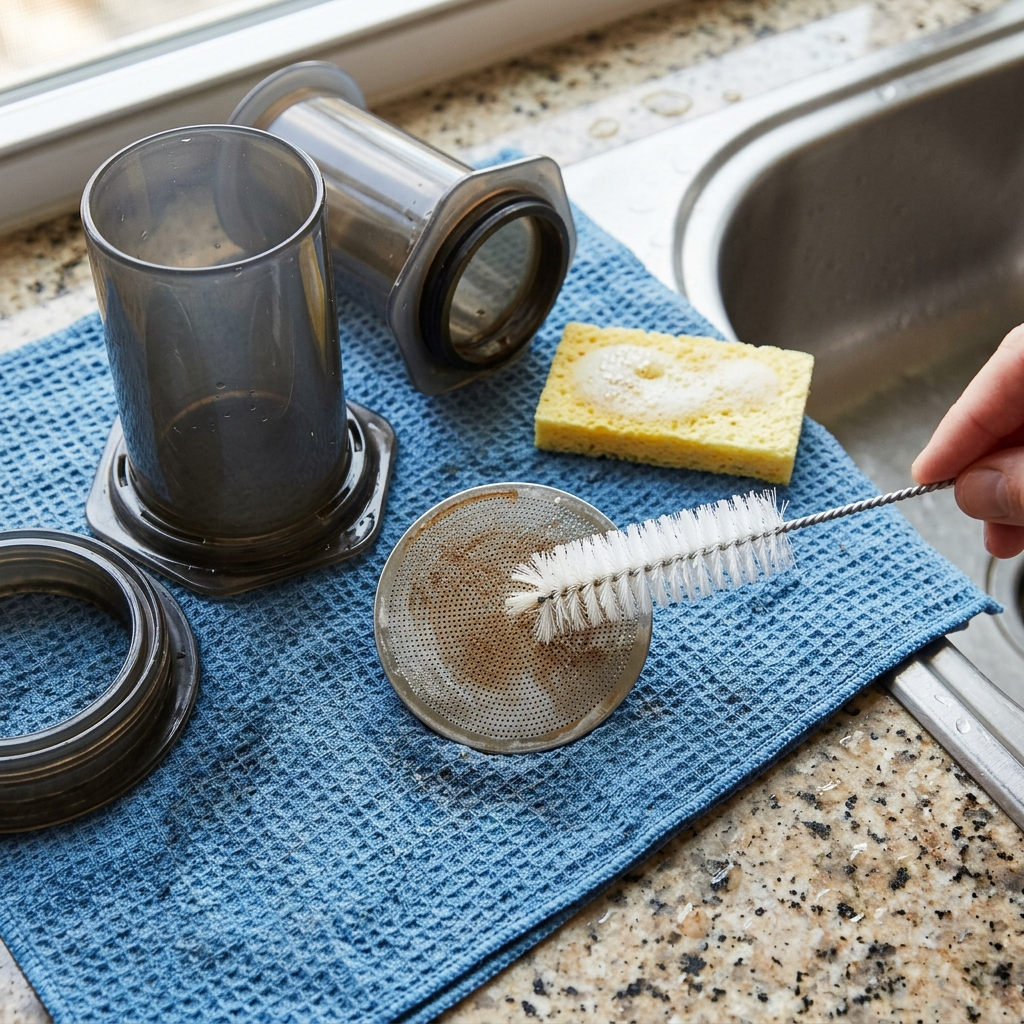
- Lingering sour or rancid odor. Coffee oils remain around the plunger or inside the chamber. Remove the seal, wash both parts with warm water and a little unscented dish soap, rinse thoroughly, and air-dry completely before reassembling.
- Cloudy film or gritty chamber walls. Fine grounds or mineral deposits have dried on the plastic. Rinse the chamber, then wipe its interior with a soft sponge and warm, soapy water. For stubborn mineral film, soak it for 10 minutes in a 1:1 mixture of white vinegar and water, then rinse several times.
- Plunger catches or moves unevenly. Coffee residue has collected on the seal, or the seal is dry and dirty. Pull the seal off the plunger, wash it gently with soap and water, and rinse away all residue. Let it dry, then press it back into its groove evenly; replace it if cracked or misshapen.
- Water leaks past the plunger during brewing. The seal is worn, twisted, or not seated fully. Remove and inspect the seal for cuts or flattening. Refit it evenly and test the plunger with clean water; if water still slips past, install a compatible replacement seal.
If a clean, dry press develops an odor again, store the chamber and plunger apart so moisture cannot remain trapped between them.